
How to Connect Laptop to Projector: 3 Simple Methods
In today’s work and educational environments, connecting a laptop to a projector has become a common need. Whether you're giving a presentation in a conference room or teaching in a classroom, projecting content from your computer is essential for clear communication.
In this guide, we'll walk you through three effective ways to connect your laptop to a projector, including both wired and wireless methods, so you can get set up quickly and hassle-free.

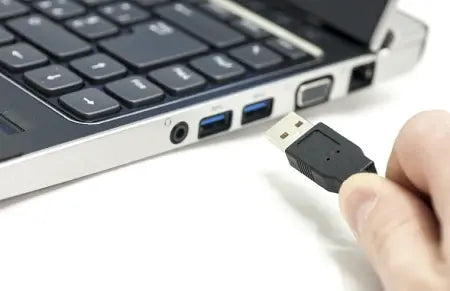
Method 1: Connect Laptop to Projector via USB
If you're wondering how to connect a computer to a projector without HDMI, some modern projectors support USB-to-USB connections for quick plug-and-play setup.
Step-by-Step:
- Use a USB cable to connect your laptop to the projector — one end to your computer's USB port, the other to the projector's USB input.
- Turn on the projector. Your laptop should detect the projector automatically.
- On your laptop, go to Display Settings and choose “Extend” or “Duplicate” display mode depending on your presentation needs.
✅ Best for: Office presentations, quick classroom setups with compatible devices.
Method 2: Use HDMI to Connect Laptop to Projector
HDMI is the most common and reliable method for high-definition video and audio transmission.
How to Connect:
- Plug one end of the HDMI cable into your laptop and the other into the projector.
- Turn on the projector and set the input source to HDMI.
- On Windows, right-click your desktop and go to Display Settings. Choose between
-
- Duplicate (mirror your screen)
- Extend (use the projector as a second screen)
Method 3: Connect Laptop to Projector Wirelessly
Wondering how to connect a laptop to a projector wirelessly? Many newer models support wireless projection either via built-in Wi-Fi or external wireless adapters.
Wireless Setup Steps:
- Enable wireless display on both your laptop and projector.
- Make sure both devices are connected to the same Wi-Fi network.
- On your laptop, search for “Project” or “Connect to a wireless display” in settings.
- Select the projector from the available devices and confirm the connection.
📶 Pro tip: This is ideal for wireless projector setups in conference rooms where cable clutter is a concern.
Final Thoughts
Connecting your laptop to a projector doesn’t have to be complicated. In this article, we covered:
- USB connection for plug-and-play scenarios
- HDMI setup for high-definition, reliable transmission
- Wireless projection for modern, cable-free flexibility
No matter which method you choose, these steps will help you confidently set up your projector in any meeting, classroom, or home setting.
Frequently Asked Questions (FAQ)
Q: Why is my projector not displaying my laptop?
A: Check cable connections, input source on the projector, and make sure your laptop's display settings are configured properly.
Q: Can I connect a projector without HDMI?
A: Yes. You can use USB, VGA (with adapters), or wireless display options.
Q: How do I connect my MacBook to a projector?
A: Use a USB-C to HDMI adapter or AirPlay if the projector supports it. Then adjust display settings under "System Preferences > Displays".
Q: How do I mirror my laptop screen to a projector?
A: Go to Display Settings on your laptop and choose “Duplicate” display mode.
Q: What is the shortcut to switch screens on Windows?
A: Press Windows + P and choose between “PC screen only,” “Duplicate,” “Extend,” or “Second screen only.”
Need Help? Contact Us Anytime
If you have any questions related to projectors or need assistance, feel free to reach out to us.
📧 Email: info@toumeipro.com
📱 WhatsApp: +1 (213) 609-3453
🌐 For OEM/ODM projector services, visit: www.toumeipro.com
We're here to support your projection needs — from home use to business customization.